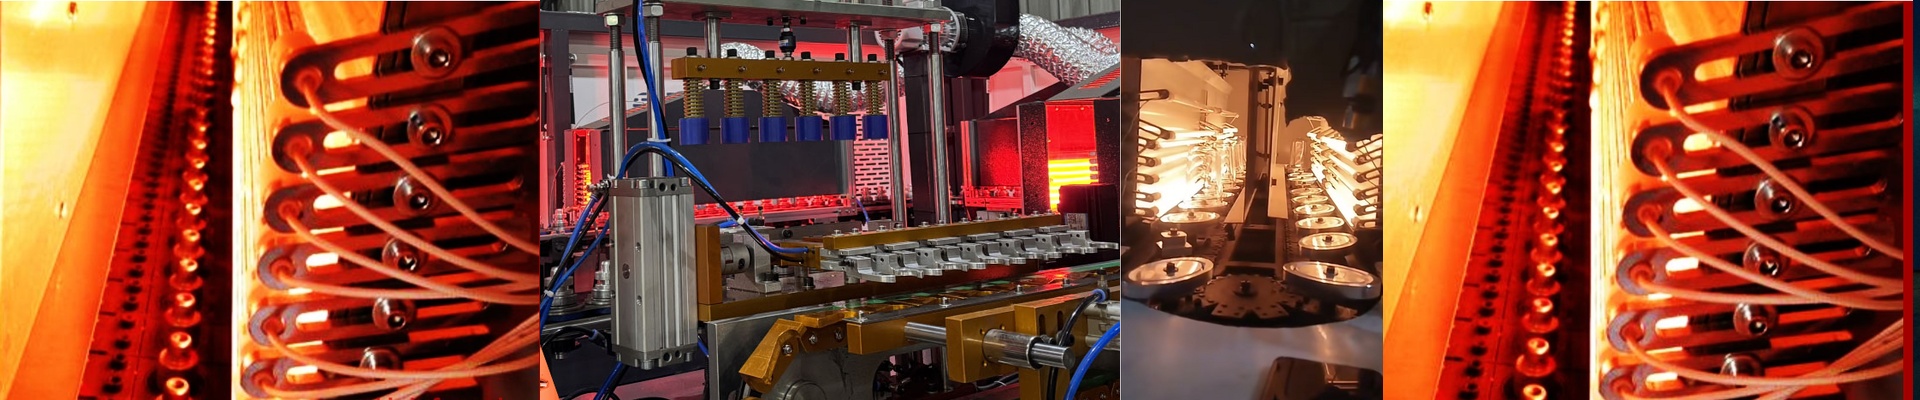
Getting the Heat Right on Your Sidel Matrix
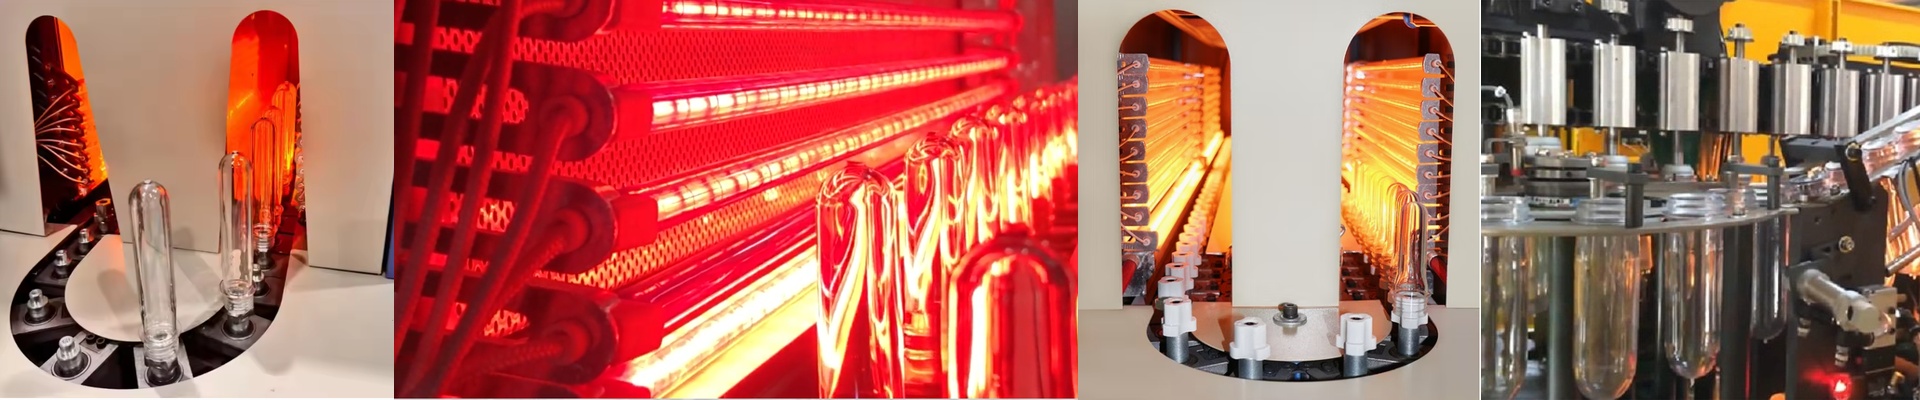
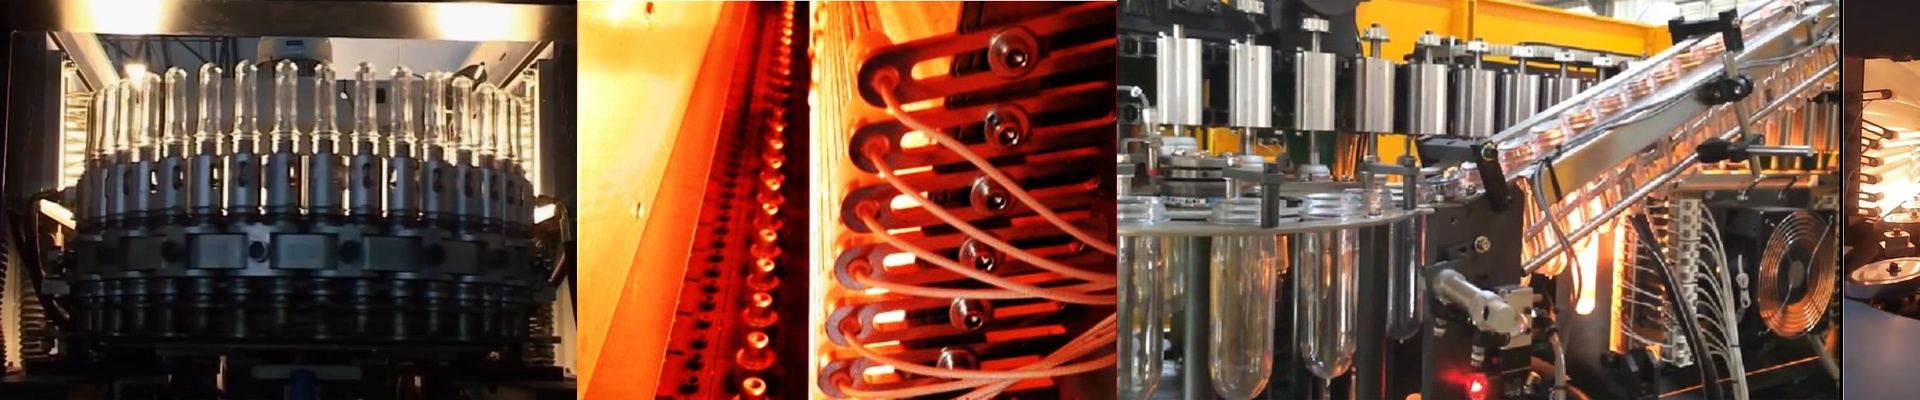
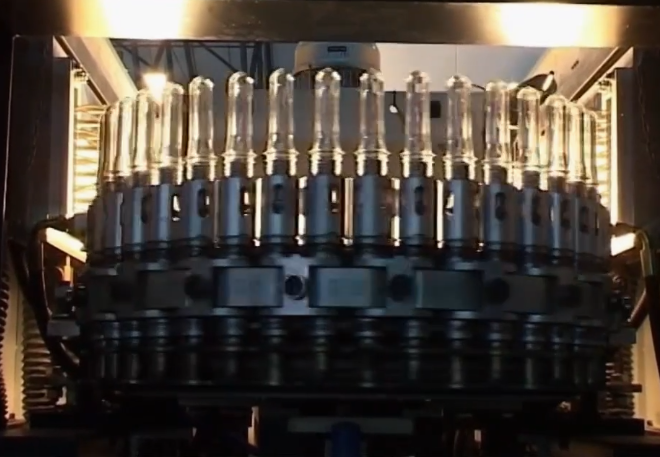
Here is the real danger when you swap out the original IR lamps in a Sidel Matrix oven: you mess up the temperature curve. It sounds like a small thing, but if the wattage or the spectrum is even a tiny bit off, your preform walls won’t heat evenly. That’s how you end up with those annoying thin spots or that cloudy pearlescence during the blow process. Nobody wants to deal with that. Matching the original specs We don’t just make lamps that “fit” the length. That’s not enough. We build our replacements to be a 1:1 match. We’re talking exact voltage and wattage. If the original setup needs a high-voltage configuration to hit a specific heat density, that’s exactly what we replicate. The best part? You won’t have to spend your whole afternoon messing with PLC settings for the heating zones. You just put them in and they work. The science of the glass The secret to getting that temperature ramp just right comes down to the quartz and the coating. We use high-purity quartz because these things take a beating under high thermal stress. If you use cheap glass, they burn out way too fast. Depending on which Matrix model you’re running, we apply specific coatings. This pushes the IR emission right into the absorption band of the PET. Instead of wasting energy heating up the oven walls, the heat actually goes into the plastic where it belongs. Putting them in (and a quick warning) These are true drop-in replacements. You use your existing connectors, keep your current lamp holders, and you’re good to go. Simple. But a word of advice: be careful if you’re trying to shave seconds off your production time. If you push for maximum heat density to speed up your cycles, your cooling blowers have to work a lot harder. Running these lamps at 100% duty cycle makes the ambient temperature in the oven climb fast. Just keep an eye on your ventilation so you don’t fry your lamp sockets.